My backgrounds were based on hand drawn as well.
The following backgrounds are first hand drawn by pencil and pen, then paint by water color.


After I have shown all these painting to my tutor Adam.C, he think the paintings was nice, but there are lack of consideration in term of the shading and perspective. So he suggested me to repaint the paintings in Photoshop again.
Here is a original painting of mine, then Adam changed it into a nicer one by Photoshop.


I tried to followed the way Adam. C painted in PhotoShop, but he works really fast, I can't remember all the instruction he taught me, so I had to taught myself how to paint.
So here is a original painting of background

First of all I'll turn down the contrast of the whole Painting

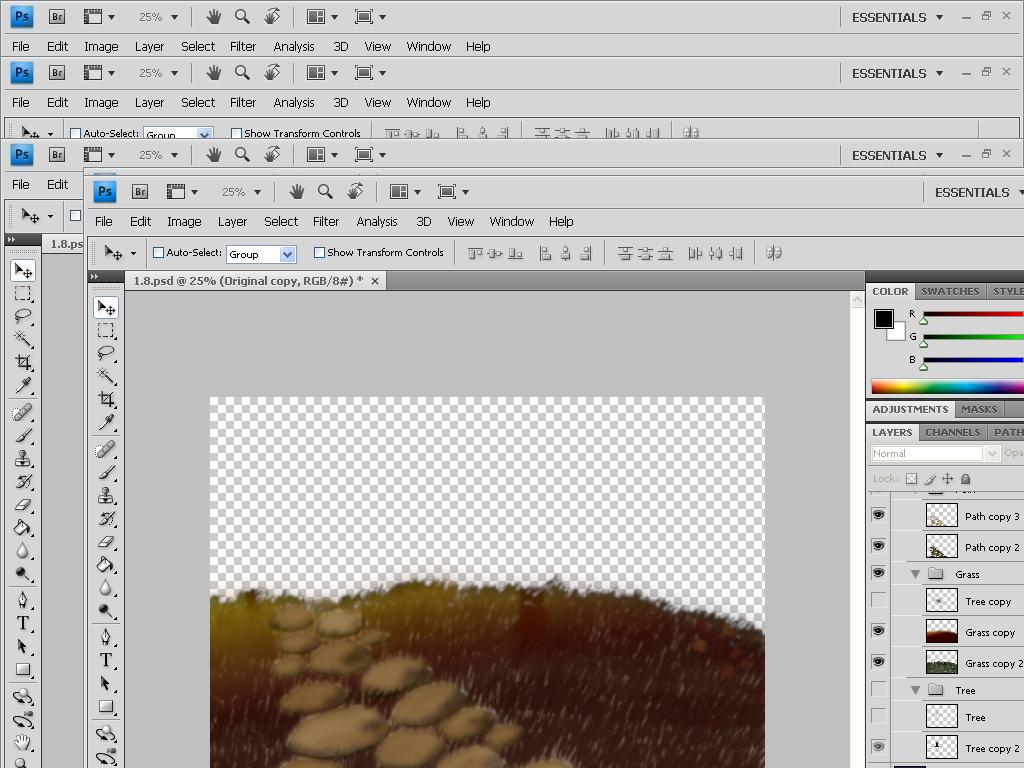
Then I'll have to cut out some of the Object, make a copy of the and place them on another different Layer such as the the Grass and the Mountains


Then I also have to cut out some smaller object such as the tree and even the rock on the Path.
The trees has been cut out, and I have changed them into a darker tone


For the Rock on the Path, I make two layer of copies, and put them on the top of the original painting. I put the gray is for the rock to have darker tone, so the rocks can have some shading, and the gold/brown is for the reflection of the sun light.


Put them on the top of the the Painting.

Also the grass has been changed into a better colour

Then gradually adds the other object, and of course they have to be recolored as well.

I also have to give the objects shadings, that wasn't too hard, just make a copy of the object, turn it into completely black, and then use "Gaussian Blur" the Blur them, drag them into the angle I need then it's done.

Behind all these object layer, I have to adjust the sky colors and the Mountains as well.
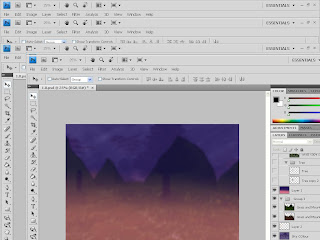
The following images are the main layers of the sky color and mountain
Considering the perspective level, they have to look a bit more blur because they are far away.


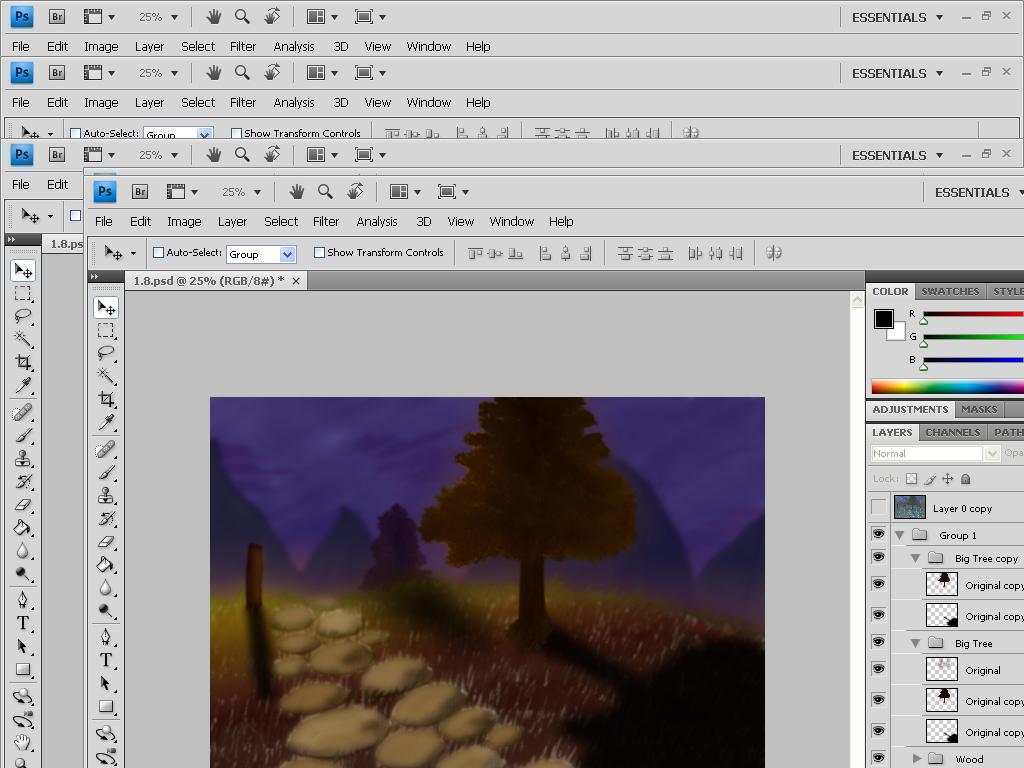
Then I combined three of these images together, this is the main color theme of the background.
Then I put the rest of the objects back on again
Yay, the background is mostly done.

But after that, what I usually do, is to save this images as a JPG first, then reopen it in PhotoShop, and then I will use "Filter-> Artistist" effect on the whole image again as a final touch.
Here are the some of the Backgrounds I have re-paint by PhotoShop.